+91 9638710389
Environment setup using Xcode Configurations in iOS Swift Language
Step 1
- Select your project under the Project section and select the Info
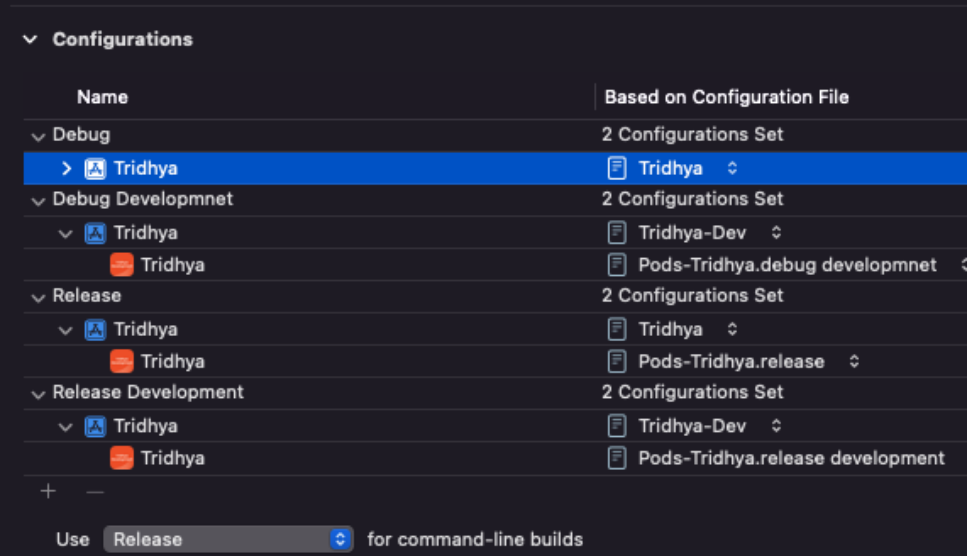
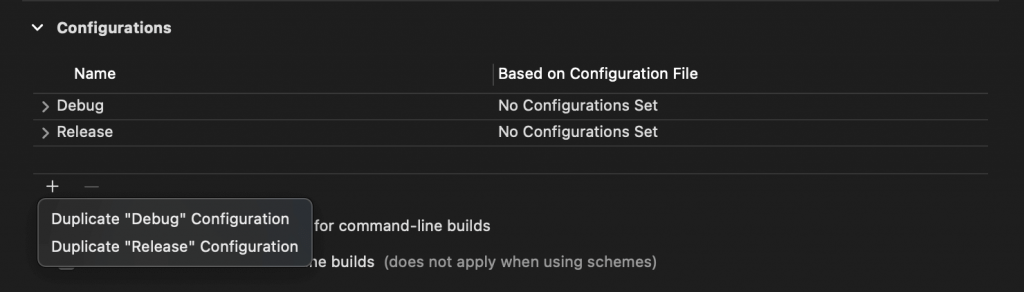
- Under the Configurations section, you will see the default configurations, Debug and Release. We will use these as a template for other environments.
- Duplicate Debug and Release configurations
- Select the + icon at the bottom of the Configurations section and select Duplicate “Debug” Configurationtwo times, and select Duplicate “Release” Configuration two times.
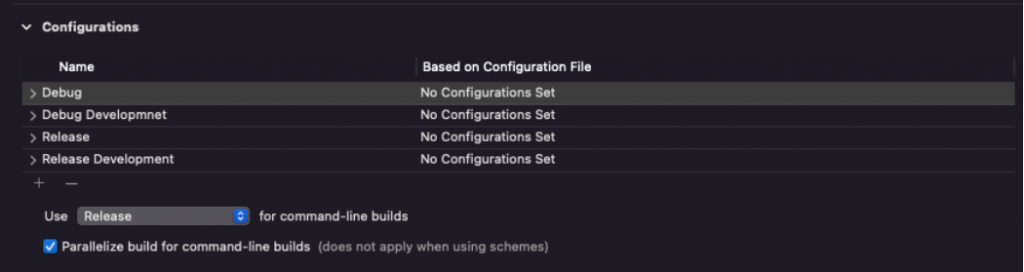
- Duplicate this and Double-click on a configuration name to rename it
Step 2
Add a new scheme
Every new Xcode project comes with one default scheme. The easiest way to create a new scheme for our environment is to duplicate the default one and change the build configuration.
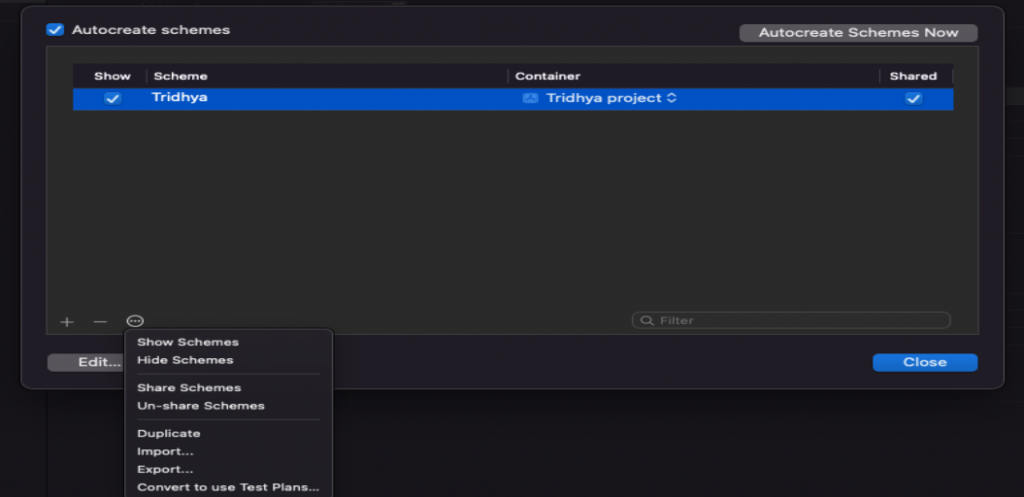
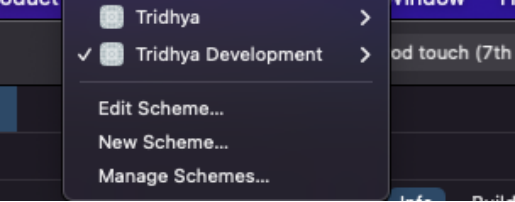
Open Scheme Manager
Select active scheme on Xcode toolbar, and select Manage Schemes… from the pop-up menu. You can also access it via the Product menu > Scheme > Manage Schemes…

Step 3
Duplicate the default scheme
In the Scheme manager dialog, select the scheme you want to copy and click the cog icon at the bottom to open all available actions. Select Duplicate and Give to name like ‘your project name Development’.
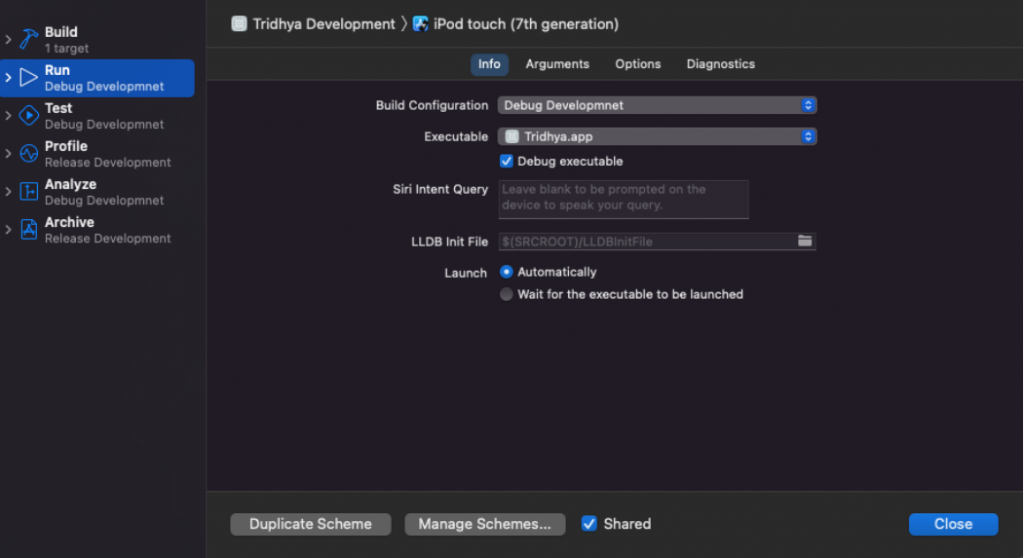
In my case, I use the default scheme for Debug, so I need to duplicate it for Debug Development
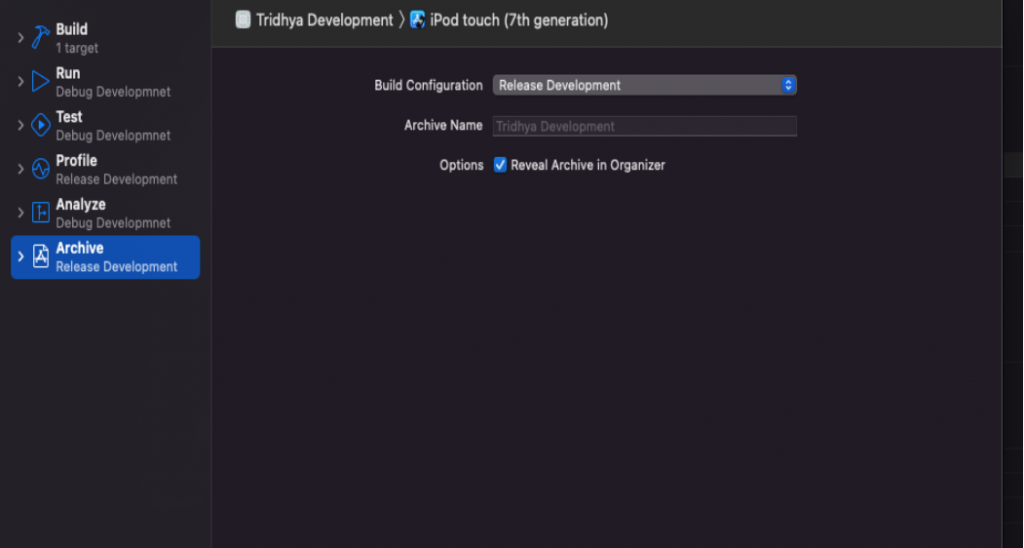
Go through all the five operations (Run, Test, Profile, Analyze, and Archive) and change Build Configuration to the appropriate environment.
Change Debug Development to Debug Development and Release Development to Release Development.
Step 4
Change scheme
After all the hard work, select the active scheme on the Xcode toolbar again, and you will see all the schemes we just created. You can easily change the active scheme by clicking on it.
Step 5
Change the app’s name
Select your project name in a Project navigator (View > Navigators > Project (⌘+1)).
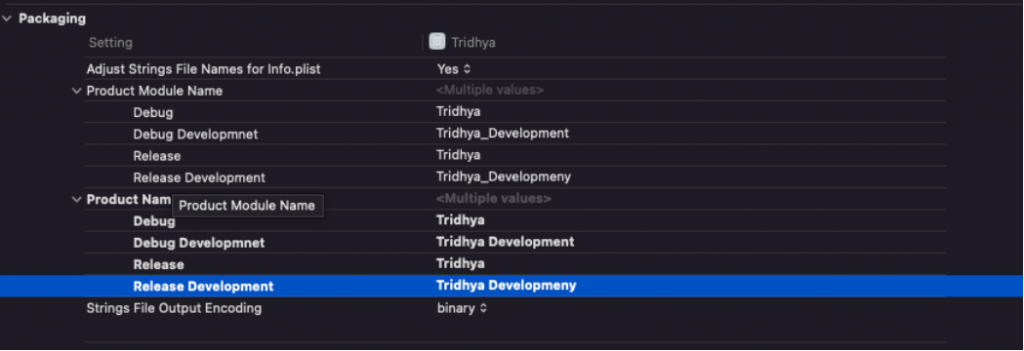
Then, in the Editor Area, select your main app target and go to the Build Settings tab. Scroll down until you find the Product Name field or search it from the search box.
Hover your mouse over the field name, and you will see an arrow icon showing up. Click that arrow to expand the field. You will see an array of values representing each build configuration. All of them should have the same name since we duplicate them over.
Step 6
Change the app’s bundle identifier
To change the app’s bundle identifier, we repeat the same process as changing the app name, but this time we do it over the Product Bundle Identifier.
Step 7
Do the same process for debug QA and Release QA also.
Step 8
Folder Structure
Create a folder structure as shown in the image
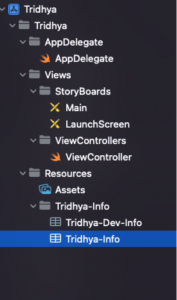
Step 9
Now go to your info folder and copy and paste your info plist file and give it the name Like “YourProjectName-Dev-Info” for Development and “YourProjectName-Info” for Normal Production also does the same for QA.
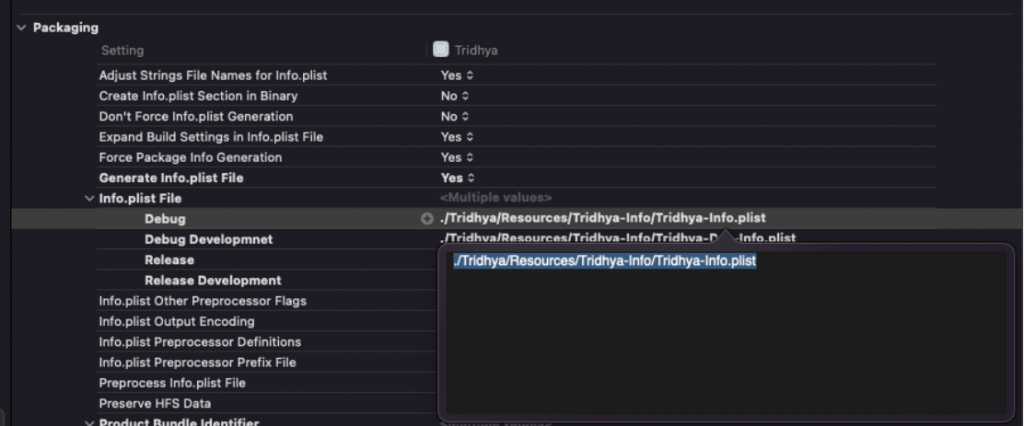
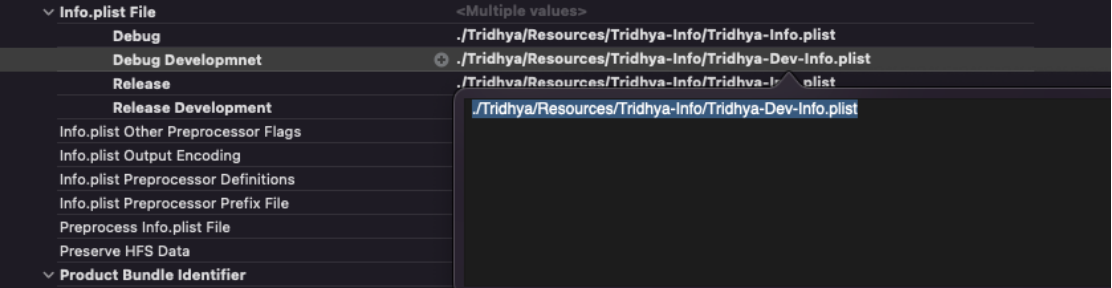
Step 10
Select your project name in a Project navigator (View > Navigators > Project (⌘+ 1)). Then, in the Editor Area, select your main app target and go to the Build Settings tab. Scroll down until you find the info.plist in the packaging field or search it from the search box. and give it the path like below for development and Production.
Also, do the same for QA.
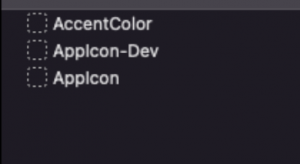
Step 11
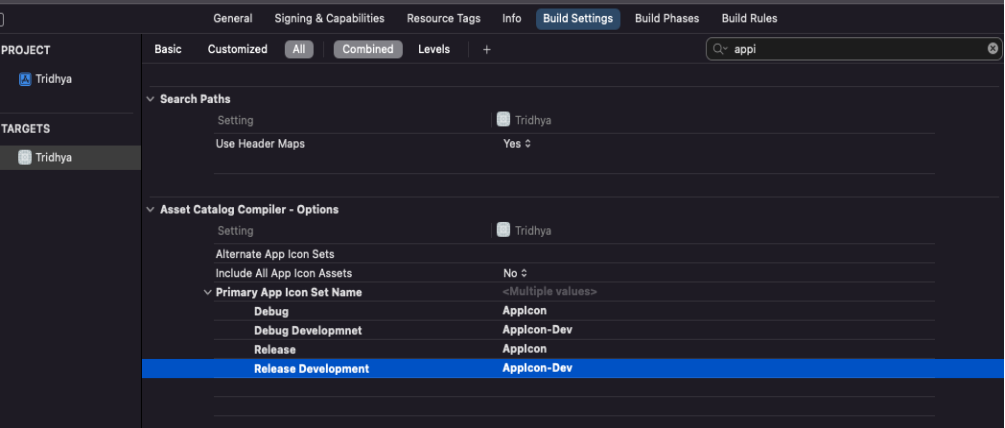
Create a new icon-set in “Assets.xcassets” give it a name like “AppIcon-Dev” and Select your project name in a Project navigator (View > Navigators > Project (⌘+1)).
Then, in the Editor Area, select your main app target and go to the Build Settings tab. Search AppIcon it from the search box.
And Change the name to Debug Development and Production(Normal).
Step 12
Select your project name in a Project navigator (View > Navigators > Project (⌘+1)).
Then, in the Editor Area, select your main app target and go to the Info window.
Now, go to Configuration go to debug and release and set Configure
Configuration from None to File that you created for Development, production and QA as below